
Model: Lockheed L-1049G Super Constellation
Airline: Cubana de Aviación
Scale: 1/144
Kit: Revell [04269]
Decals: Vintage Flyer Decals [VFD144-110]
Accessories:
ExtraTech L-1049G [EX14414]
 |
| GALLERY>> |
Background:
The Lockheed L-1049 Super Constellation is a member of the Lockheed Constellation aircraft line. The L-1049 was Lockheed's response to the successful Douglas DC-6 airliner, first flying in 1950. The aircraft was also produced for both the United States Navy and Air Force as transport, electronics, and airborne early warning and control aircraft. Most Super Constellations were retired by their original operators after the advent of the Boeing 707 and Douglas DC-8 jet airliners. The last commercial flight of the L-1049 Super Constellation was in 1993, when the Federal Aviation Administration banned all airlines from the Dominican Republic that flew Constellations to the United States (due to safety concerns). The Dominican airlines were the last operators of any version of the Constellation.
The L-1049G was an L-1049C with an increased maximum take-off weight. and four R-3350 972-TC-18DA-3 engines. The options of tip tanks and weather radar were available to the customers. Cubana de Aviación was the first airline in Latin America to operate Super Constellations (L-1049E and L-1049G), placing them in service in its Havana-Madrid, New York and Mexico City routes.
CU-T601 was delivered at the beginning of 1956 and was eventually converted to a freighter, changing its registration to CU-C601. It was scrapped shortly after in 1959 after 4 short years of front line service, being replaced by the Bristol Britannias.
Construction:

The model's construction is the expected Revell quality. The fit is very good, and just with a little bit of putty it becomes a seamless joint. Started off constructing the cockpit assembly. It is small, but it includes 3 seats, and 2 small decals; although, these are invisible once assembled. The cockpit assembly houses the nose gear bay as well. A 15g weight was added to nose before being joined.


After joining the two fuselage halves together, and the wing assembly, they were dry fitted. As well, the long-nose version of the Connie was chosen, and thus attached. The distinctive 3 rudders of the Connie were also attached at the empennage.


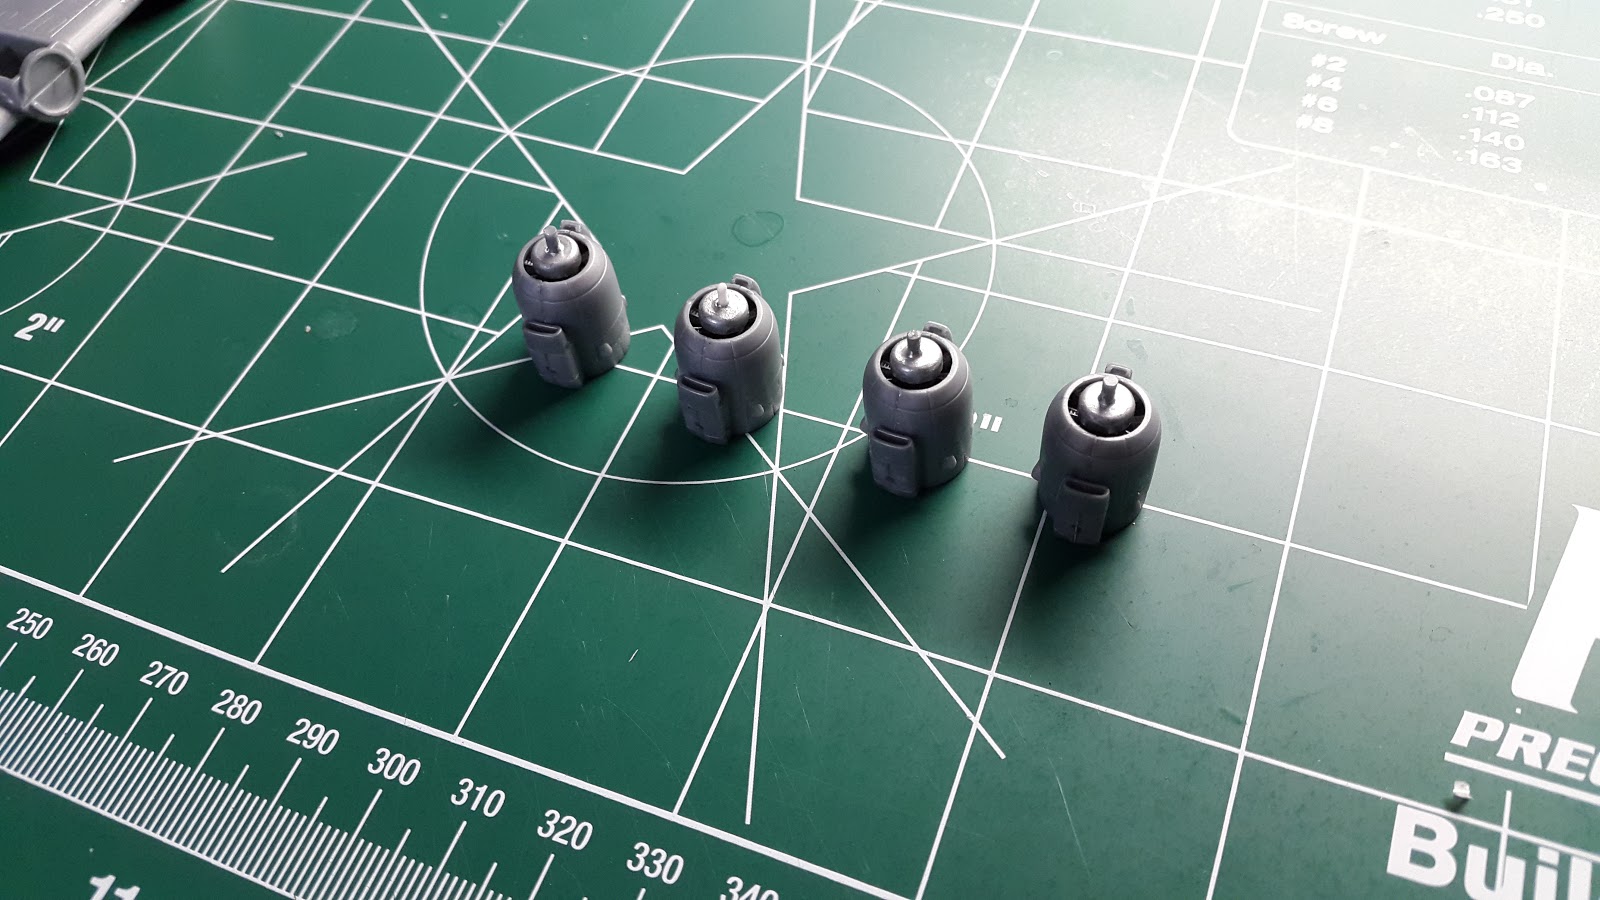
Each engine comprises 7 pieces to put together. The pistons were painted before assembly. Each engine is assembled to allow the propellers to spin once they are attached.

Another dry-fitting of the wings and fuselage with the engines and cockpit windows attached. After putting and sanding the seams, they are joined together. The Connie shape is starting to come out.


After the fuselage assembly is finished, the photo-etched detail is added. This includes details for the landing gear wells, as well as the main and nose gear doors. The gear struts also include photo-etched parts and the gear assembly is installed.


The plane is ready for painting!

Painting:
Using Alclad Grey Primer/Micro Filler, the first primer coat is applied to the model. It is the first time using this product and the result is very impressive.


After letting the primer dry for a few days, the first colour white was applied. This colour includes 2 coats of MM #1768 Flat White and 2 coats of MM #2720 Classic White to produce the vibrant finish. The flight deck and passenger windows were masked using the cutter printer to produce masks for the parts. After letting the white coat dry, they were removed to reveal the detail.


The white was masked for the next step of painting. Due to the metallic finish of the underside, the leading edge de-icing boots and nose radome were painted first. The leading edges were painted with MM #4700 Semi-Gloss Black Acrylic and the radome, propellers and tires were painted with Tamiya XF-1 Flat Black.


After masking the leading edges, the surface was sanded to remove paint build up and a new primer coat was applied. After priming, Alclad #117 Dull Aluminum was applied to the top of the wing and those areas were masked in preparation for the gloss black primer.


Using Alclad #305 Gloss Black Base, the surfaces were once again primed. Afterwards, the last and final colouring using Alclad #119 Airframe Aluminum was applied to reveal the high shine finish.


Finally all the masking was removed to reveal the work progress and the result of all the layering masking. The propellers were also painted, detail added using a brush, and the small decals applied before being attached to the airframe.


All wheels, beacon lights, windshield wipers attached and painted. As a last step before decaling, a coat of Tamiya X-22 Clear Gloss was applied to offer an even surface for the decals to attach to.


Applying the decals on the left side. Note the aerial antenna was the last thing attached on the model.
